Here at Sparksmith, we are always working to find new ways to add value to you, the customer. The following is a transcript of the video embedded below
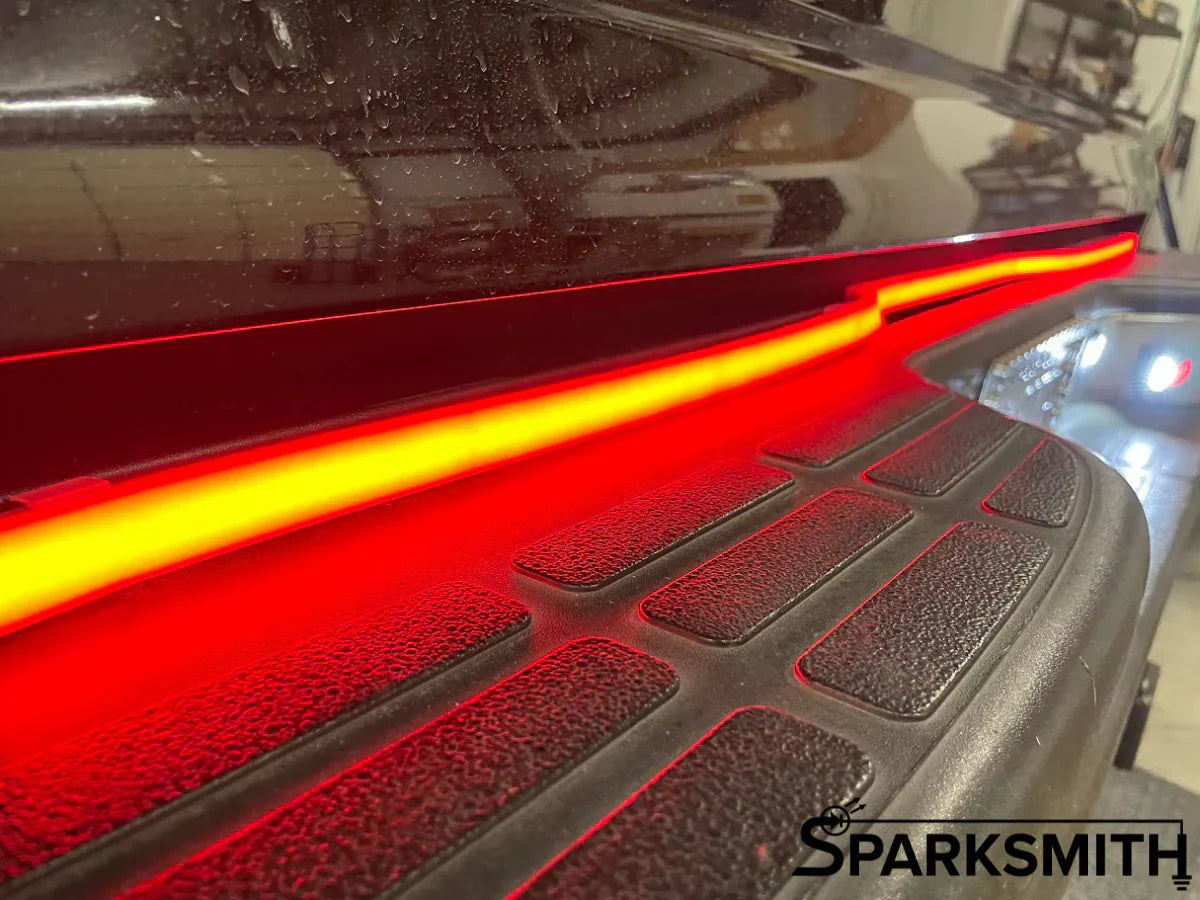
(0:00) All right everybody, I am going to do a quick little install of the 60-inch tailgate bar (0:07) that I just recorded a video on. So it's, they're pretty cool, it's a silicone flexible housing (0:14) that has this very neutral kind of gray look, really kind of ties in with the tail lights. (0:21) Let's see, there's the tail lights when they're off and there's the bar when it's off, (0:26) but it's a nice smooth continuous bead of red light when it turns on and also has white for (0:32) reverse and has sequential amber or sequential red, whichever you prefer for your turn signal.
(0:39) What I'm going to do, I'll kind of zoom it in here a little bit, is I'm actually going to mount it (0:45) to this black plastic lip here, partly because I'm lazy and partly because I think it will actually (0:50) look kind of cool, because it's going to come there and it's going to step in, because where (0:55) this lip ends, I'm going to let it kind of slide in and mimic the step in of this with the light. (1:05) So to get a little more dimension, a little more shape, so most of this is going to be pretty easy. (1:10) I am going to include some, they didn't come from the factory like this, but I'm going to include (1:16) some self-drilling screws to use.
They come with these little brackets that have double-sided tape (1:24) that will kind of hold them in place while you screw them in place, but there's, see a hole right (1:29) in the center, and you'll just run your screw right through that and screw it to whatever surface (1:34) you've got for these things. Yeah, I just got to measure out the spacing for the six mounting (1:41) points. I'm going to start at the ends and kind of work my way in.
I'll do a little time lapse of (1:45) this, and then I'll come back and show you what I've done. (2:12) Okay, so I've got the bar mounted. There are six mounting points (2:17) along there.
I've got it tucked in. The flexible housing actually makes it a little bit easier to (2:21) install, and I have it plugged into my, I've got a second four pin. I'll tidy all this wire up later.
(2:29) So the only thing that I'm not sure of is which side is left and right, so I'm going to turn the (2:36) turn signal on on the truck and see if I've got it correct or if I have to go in there and flip (2:42) the thing around. The good thing is it just kind of clips in place on those little mounting brackets. (2:46) You can kind of see one right there, and so if it's backwards, I'll just have to flip it over, (2:49) and then we'll know better next time.
So let's see what happens. Turn signal. (2:59) Did we? No! We got it backwards.
Okay, got to flip that, and I'll be right back. (3:19) Now, one thing to note on these, as I said earlier, they come with a little key fob. (3:25) Press A to change what the park light function does.
So whenever your tail lights are on this (3:34) bar, you can choose a solid red like this, or you can cycle through. There's one, two, three, four, (3:48) five, six, seven, and there's an eighth. The eighth one is the solid red.
I just didn't hit (4:01) the button in time, but yeah, there's all kinds of different... I don't know why you would want (4:06) it to do this unless you're just in a parking lot with your friends and you want to be like, (4:10) watch this, which some people are into that. You can have it just do the Knight Rider thing, (4:19) and again, these come in 18. The 18-inch is two separate bars, and then there's a 30-inch, (4:25) which would be good for a side-by-side, or a 37, which might work for smaller vehicles or (4:30) side-by-sides, a 47, which is good for compact trucks, and then this is the 60-inch, the biggest (4:36) one, which is good for your full-size trucks.
You can do a breathing white, do a breathing red, (4:46) can do that kind of crazy pattern, or this kind of crazy pattern, or this pattern, (4:54) or it'll just be a solid red. And then same thing with the turn signals. You've got one, two, (5:07) three, four, five, six, six to choose from.
I personally like the sequential amber, (5:16) but we can choose the segmented amber, however you want to do it, completely up to you. But then (5:22) once you've picked the one you want, you just don't do anything, and it'll give a confirmation (5:26) flash. And again, to change it, all you do is start pushing A for the running light and B for (5:32) the turn signal function.
Now, maybe the turning thingy does that. So, and there we have it. We've got (5:48) a nice bright red running light, and left turn signal.
Did I get it right this time? Yeah, boy. (6:05) Of course, you're also seeing our double-up mod on the taillights that turns the (6:15) reverse light into a switchback that does reverse and turn. Here, I'll show you.
Just because I can. (6:29) You can see (6:33) how the reverse overrides the turn signal function on the bar. And if you look at (6:41) my two taillights, which are available on sparksmith.com, (6:46) one is acting as a turn signal, while the other is a reverse light.
(6:52) Then you've also got that reverse going underneath the taillight.