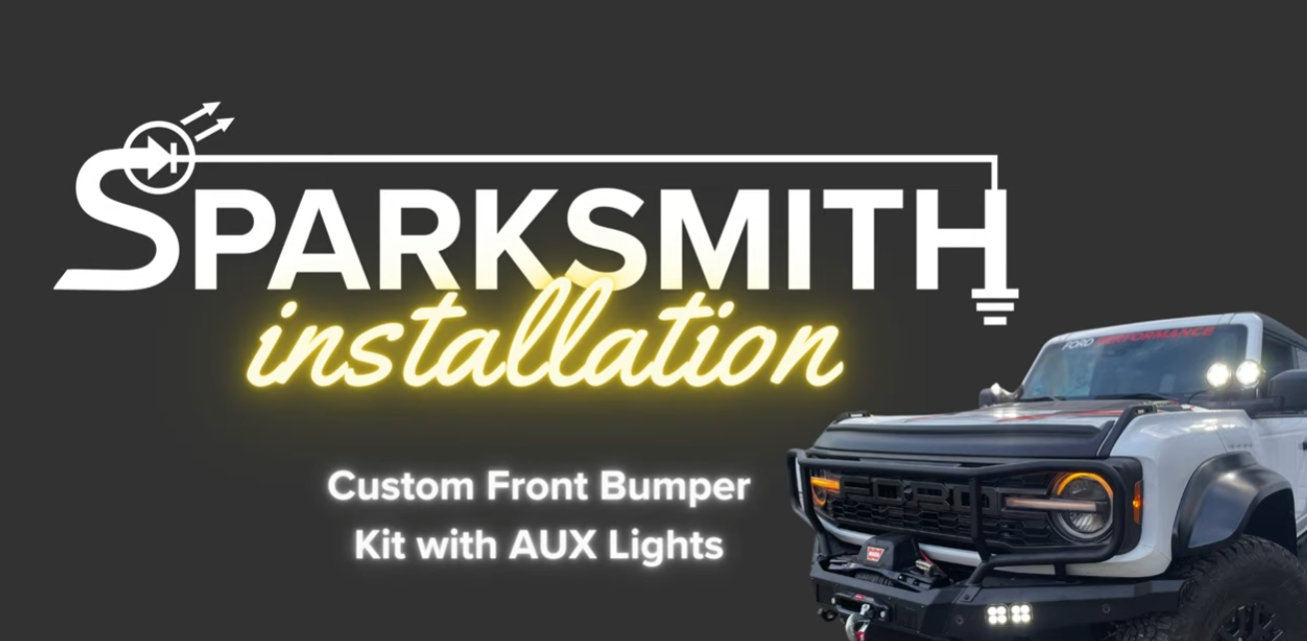
[Music] all right everybody this is Brandon from sparc today we are going to be putting on this Max lighter front bumper kit uh with some lights that go up with each lights and some in the bumper on this 2022 Ford Bronco Raptor so step one is to remove the uh skid plate as well as the bumper just a couple of plastic tabs and a couple of bolts it's a fairly straightforward process you will want to get someone to come and give you a hand to lift this thing off it's fairly heavy just make sure the wires are unplugged first the next step is removing all the components that you're going to reuse from the factory bumper including some of the wiring couple of the brackets and the park sensors they're fairly easy to get out just take your time and be methodical and if nothing else look back over the max slider YouTube video and it details how to remove those The Next Step I took was to start relocating the Adaptive crw sensor
uh the max slider bumper has an opening suitable to mount the sensor so that it is still usable the first step of that is to remove the active shutters and remove the sensor from that and then it will get relocated to the new bumper one step in this process is to reconfigure the factory harness to allow for the wires to reach to the new location for the adaptive cruise sensor once you've got the wiring done you can go ahead and mount the cruise sensor into its new location next up I break out the parts table to try and get organized with all the stuff that's going to go along with this bumper there's quite a bit of Hardware multiple lights and other brackets and wiring and stuff like that so I'm trying to get it all laid out nice and neat so we can get an idea of what we've got what we've used what we haven't and just stay generally organized with this process one thing I had to do with the cruise control sensor is trim
the tabs off of it so that it could be used with the brackets included with the max slider kit and mount into that square opening that you see there I will come back and paint this in just a bit to make it match more closely to the rest of the bumper after undoing the factory tape on the wiring harness for the sensor uh I decided to go back and rewrap it with some cloth tape just to keep that factory OEM look and as well as obviously protecting the wiring so once you got that harness prepped you can reinstall the wiring to the shutter assembly and that can go back on the truck next I'm going to start prepping the brackets you do have to trim a little Material off of these the max ladder videos go over kind of how to do this but it makes sure that the lights that you see here the four little pods do fit nicely um I did scuff up the sensor like I said going shoot some paint on there just to kind of make it match to the rest of the bumper
next we go to assemble the four uh pod lights that go in the bumper these will run off of the factory wiring it's a neat little modular system they kind of Bolt together and you get two lights with one plug and then I will convert here shortly the factory plugs to match the Dutch connectors on these pod lights now going to install these I made the mistake of not completely watching the max slider video and try to install the bracket with the pods installed because that seemed like the most logical thing to do uh I can assure you it was not so on the other side I learned my lesson and actually did it in a way that took a lot less time it was a lot less frustrating so there you go lesson learn there so here is where I became very impressed with the quality of the max lighter bumper all these holes where we Mount up the brush guard portion every single hole lined up perfectly so kudos to the team up at maxlider for making such
a high quality product thanks for making this easy next you want to get somebody to help you fit the bumper to the truck um this thing weighs about 120 lbs so it's worth having somebody come and help you and then stand and watch you for a few minutes the next part is just kind of nuts and bolts getting everything bolted into place and aligned properly um trying to get the skid plate on as well and I use just ended up using the 2x4 essentially to just kind of level out the bumper and keep everything in place so I can get everything tightened up and adjusted as necessary my next step was to start prepping the wiring for the new pods I wanted to reuse as much of the factory wiring as possible so I'm de pinning the factory connections I'm going to cut those connectors off and crimp on some Dutch style connectors and those will plug directly into the new pod lights that go into the bumpers so just a couple of quick crimps
and assemble these things and now you've got some very OEM looking OEM quality kind of connections without any weird splicing or anything like that and so don't forget to use your dialectric grease plug everything in and then it's time to give a quick test just to make sure that everything's working like it's supposed to so far so good just making sure I've got everything run in the correct way next it's time to fit the Wench into its new home so fairly easy process there's a little plate you have to remove from underneath the the new bumper the wiring on it is fairly straightforward you just run a giant power and ground cable set the winch in place there's four bolts that hold it from underneath and you kind of snug everything in and it just fits right in there definitely want to do this after you've installed the bumper on the truck as I mentioned just routing the battery cables over to the driver's side
to get the power and ground and then the controls just plug in with a uh handheld remote that you can use whenever you need to actually use the wiench and that's about [Music] it so there you have it one complete bumper install for brand new Ford Bronco Raptor got that Max slider steel bumper on there with the new pod lights from the brush guard and the winch and we also threw on some ditch lights up by the windshield just for added effect and now this thing is ready for the trails [Music]