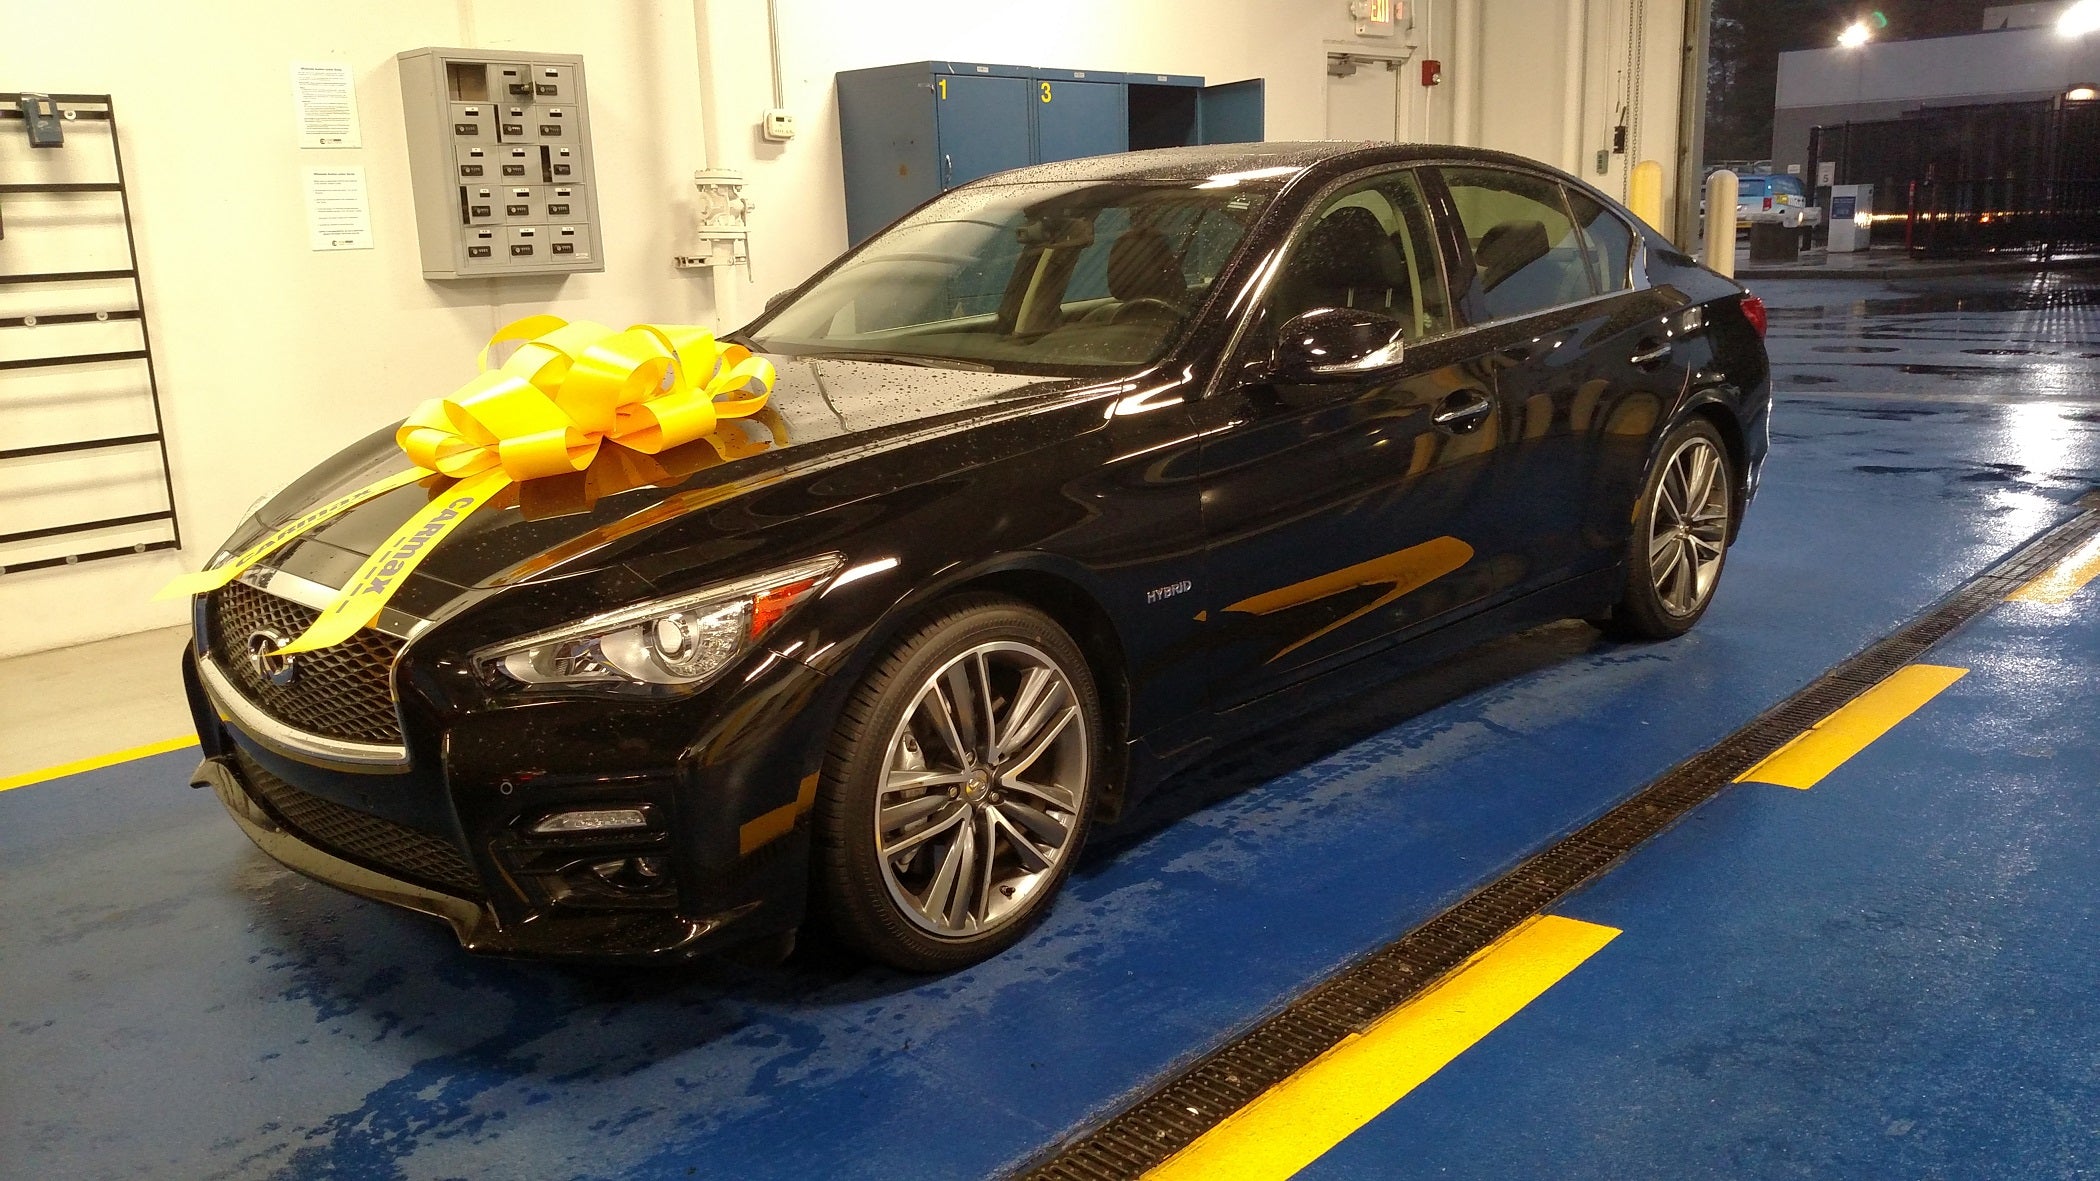
Let's talk about technology in cars. It can be handy, innovative, even life saving. But sometimes... it's just annoying. Take the 2014 Infiniti Q50S Hybrid, for example.
It's pretty, ain't it? The car is beautifully styled, well laid out, comfortable, fast, and efficient. Moreover, it's packed with technology, some of which really doesn't work well.
Don't get me wrong, the car is a blast to drive, it gets 30 mpg+ on the highway, it has more safety features than a nursery on a Marine Corps base, and with 360 horsepower, it will get down the road just fine. But as I mentioned, it has its drawbacks, most if which seem to be specific to the hybrid models. I could go on about the quirky brakes, steering, and other things. But frankly, those have been talked to death on plenty of other forums. I'm here to talk about the VSP (approaching Vehicle Sounds for Pedestrians).
Rather than try to describe this gadget, I'll just let you check out this short clip I stole from YouTube:
That garbage truck style backup tone sounds every time you put the car in reverse. While I appreciate the effort at protecting unwary foot traffic glued to their cell phones, it's an annoying feature and I wanted to find a way to disable this feature.
DISCLAIMER: This blog is meant for illustration purposes only. Any modifications you make to your own vehicle based on the following information you do at your own risk. Sparksmith, LLC assumes no liability for your actions.
First, I did the typical Google search for ways to fix it. Nothing really came up except that non-US models have a dash mounted switch which lets you turn this feature off... Ok, so we know it's possible. Now, how do I do it, sans switch? Well, here we go;
First jack up the right (passenger side) front corner of the vehicle (use jack stands, be safe, etc. etc.).

Then, remove the front portion of the black plastic wheel well liner. There are four (4) plastic pop rivets in the wheel well portion. The clips 'should' pop out using a flat blade screwdriver.

There are five (5) M6x1.0 bolts (in other words, you'll need a 10mm socket) on the bottom.

Once that hardware is removed, the wheel well liner can be removed.

With it gone, you should be able to access the cluster of modules and electrical components hidden within.

Just above the metal box shown here, you will want to remove one M6 bolt and one plastic clip.

For the bolt, a wratcheting 10mm wrench is your best friend.

For the clip, simply use a flat blade screwdriver or a small pair of pliers to squeeze the top and bottom tabs together. You want it to push forward through the hole so that you can no longer see it.
Next, look up from underneath. You should be able to see a small box that looks like a speaker.

Remove this bolt and the speaker can be coaxed out of its mounting spot. Use a screwdriver or small pry bar and slide it forward. Don't worry too much if you crack some of the plastic alignment tabs. They're not critical parts.
Once the speaker is free from the mounting tabs, you can unplug the two wire electrical connector and move to your workbench.

Now, you can stop here if you want. That's it. With the speaker unplugged, there will be no more backup tone or low speed "electric car" whirring noise. However, you will have to live with this warning light on your dash.

I couldn't bring myself to have that light on all the time. Luckily the hard part is over and the fix is both cheap and simple.
Take the speaker to your workbench and open it up.
Remove the four (4) phillips head screws and open up the speaker. You should find that the only thing inside is a 4 ohm, 2.5W speaker.

Cut the two wires at the speaker, then install an approximately 4 ohm resistor in line from the black wire to the white wire. I used a 3.3 ohm resistor, which worked just fine. You can find similar ones on Amazon, just make sure they're rated for at least 2 watts:
Uxcell 3.3 Ohm 2W Carbon Film Resistors
Don't forget to add some heat shrink tubing before you solder it in place (I used marine grade heat shrink with built-in adhesive since this will be slightly exposed to the elements in the wheel well).

With the resistor in place, tuck the wiring back into the speaker box and reassemble the box. As an extra precaution, I suggest using a multimeter and measuring resistance across the two pins of the connector. It should read between 3.3 and 4.0 ohms.
NOTE: Before reinstalling the speaker box back to its original location, plug up the connector, THEN reinsert the black plastic clip into its hole on the mounting plate. I'm speaking of the clip which was released from the backside earlier on.
You'll want to have the connector plugged in and in place before you put the speaker box back in its home.
Now, BEFORE you finish putting everything back together and start patting yourself on the back, turn the car on and test it out. You should have no warning lights and no backup tone.


If you still have the warning light shown earlier, turn the car completely off, wait at least 10 seconds, then turn it back on. If that doesn't clear the warning light, recheck your connections.
With the tone disabled and the warning light out, it's time to put everything else back in the reverse order in which it came out. Congratulations, you now have one less annoying thing in your life.
Just be aware that if you ever bump into a pedestrian at low speeds with this modification in place, the plaintiff's personal injury lawyer will have a field day with you... And it's not my fault.